Installing Helix Core on Ubuntu
In this article, I will guide you through the installation of Helix Core (aka Perforce) on Ubuntu. I will show you the process of setting up both a client (P4, P4V etc.) and a server (P4D, P4DCTL etc.), as they will have some common setup steps.
I found some of the Helix Core Linux documentation was obscure and getting outdated. This article aims is to guide you through the installation using up-to-date commands and practises, as of writing in 2021.
This guide assumes knowledge on the following:
- Ubuntu: you know what
aptis, etc. - CLI: you can enter and modify terminal commands, etc.
This guide is structured as follows: The first section below needs to be performed for both setting up a client or a server. After this common setup there are separate sections for a client setup and a server setup.
Without further ado, let’s dive right in!
Setting up the Perforce repository (Client & Server)
In this section, we’re going to set up the Perforce package repository for apt so that we can download the Ubuntu packages of Helix Core.
This section is based on the official documentation, but with some parts rewritten because apt-key is mostly deprecated starting Ubuntu 20.10 (and Debian 11).
First set up the Perforce repository key and the repository itself:
wget -qO - https://package.perforce.com/perforce.pubkey | sudo gpg --dearmor -o /usr/share/keyrings/perforce-archive-keyring.gpg
echo "deb [signed-by=/usr/share/keyrings/perforce-archive-keyring.gpg] http://package.perforce.com/apt/ubuntu focal release" | sudo tee /etc/apt/sources.list.d/perforce.list
sudo apt update
Replace focal with precise, trusty, xenial, or bionic if you’re using an older version of Ubuntu.
In my case, I was using Pop!_OS 21.04 which is based on the newer Ubuntu hirsute, but focal is the newest available and it worked fine for me.
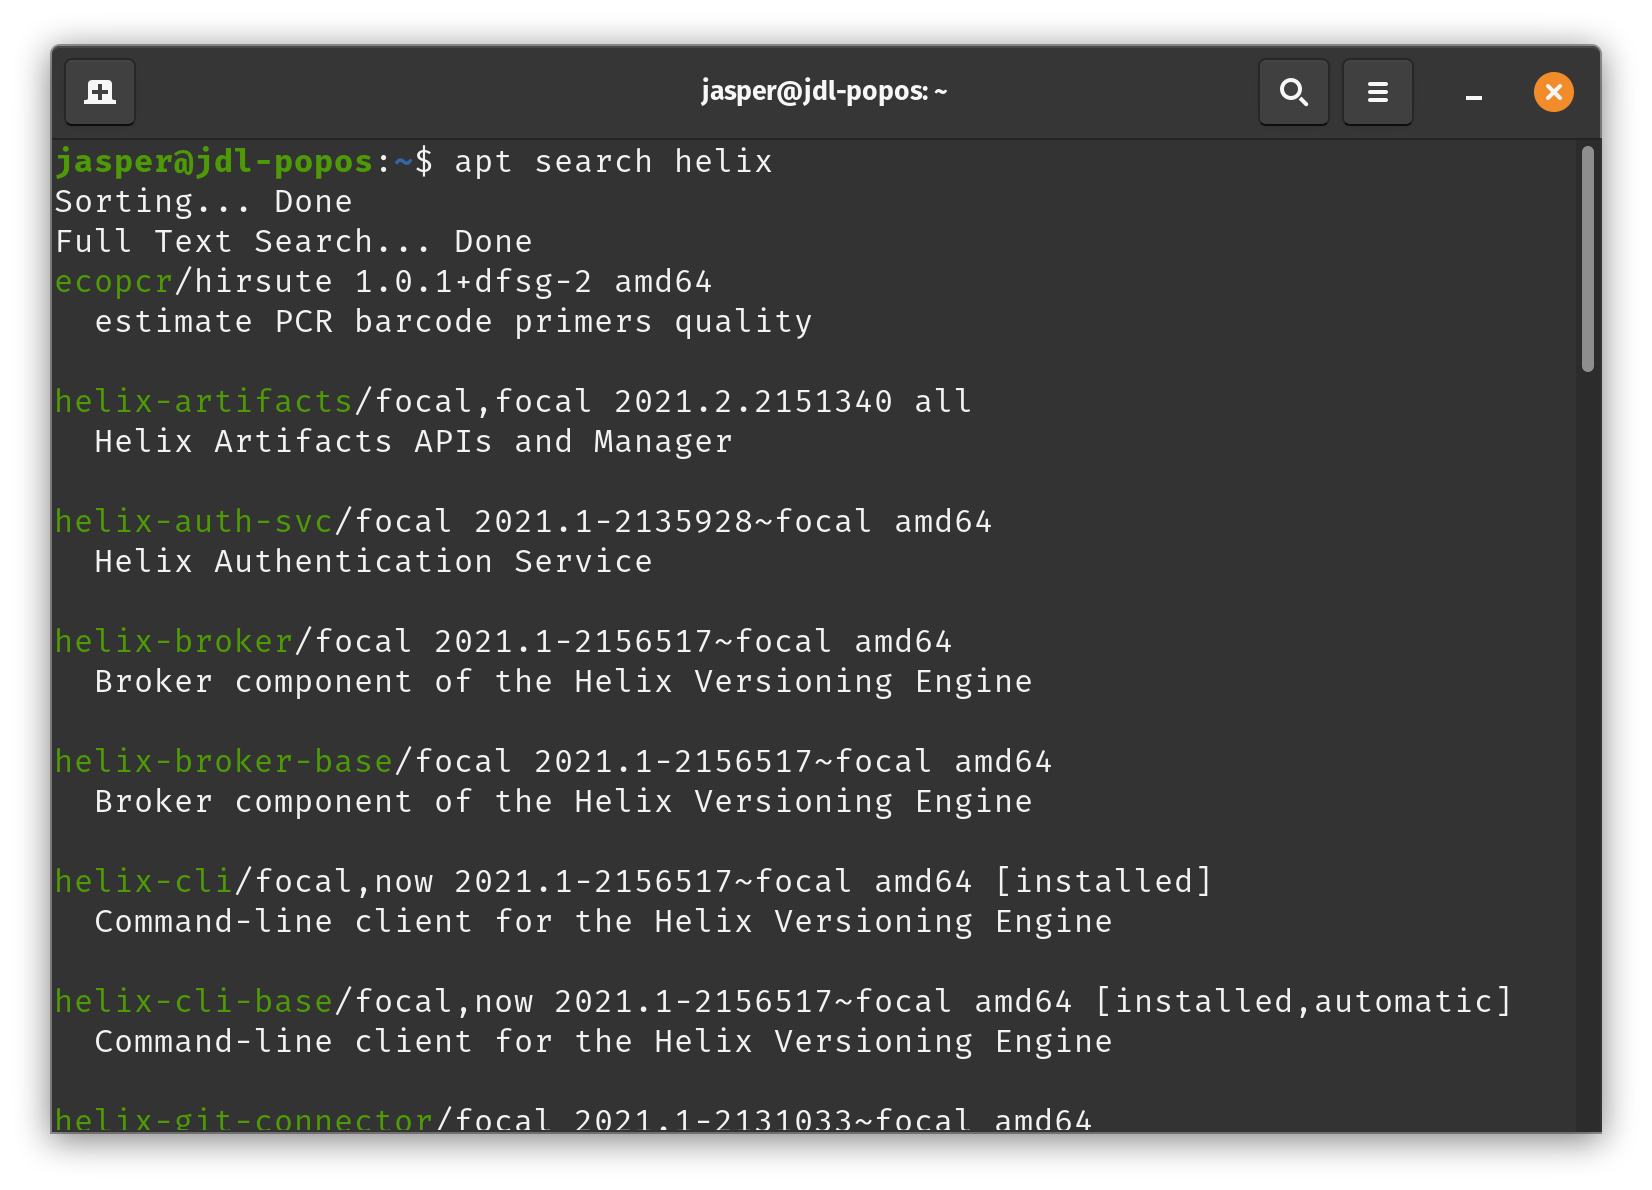
You should now be able to install software using apt from the Perforce repository, you can run this command to check it’s working:
apt search helixIf all went well, you should see multiple programs starting with helix- in the output:
 The next steps depend on whether you’re setting up your computer as a client or a server.
Client setup
Unlike with Windows, when you install P4V from Perforce’s website, the P4 command-line tool is not installed with it. This is a shame because some things like p4 typemap are not exposed in P4V or P4Admin. Instead, P4 needs to be installed via the package repository we set up in the previous step.
To install P4, simply enter the following:
sudo apt install helix-cliAfter installation, the p4 tool should be readily available for use:
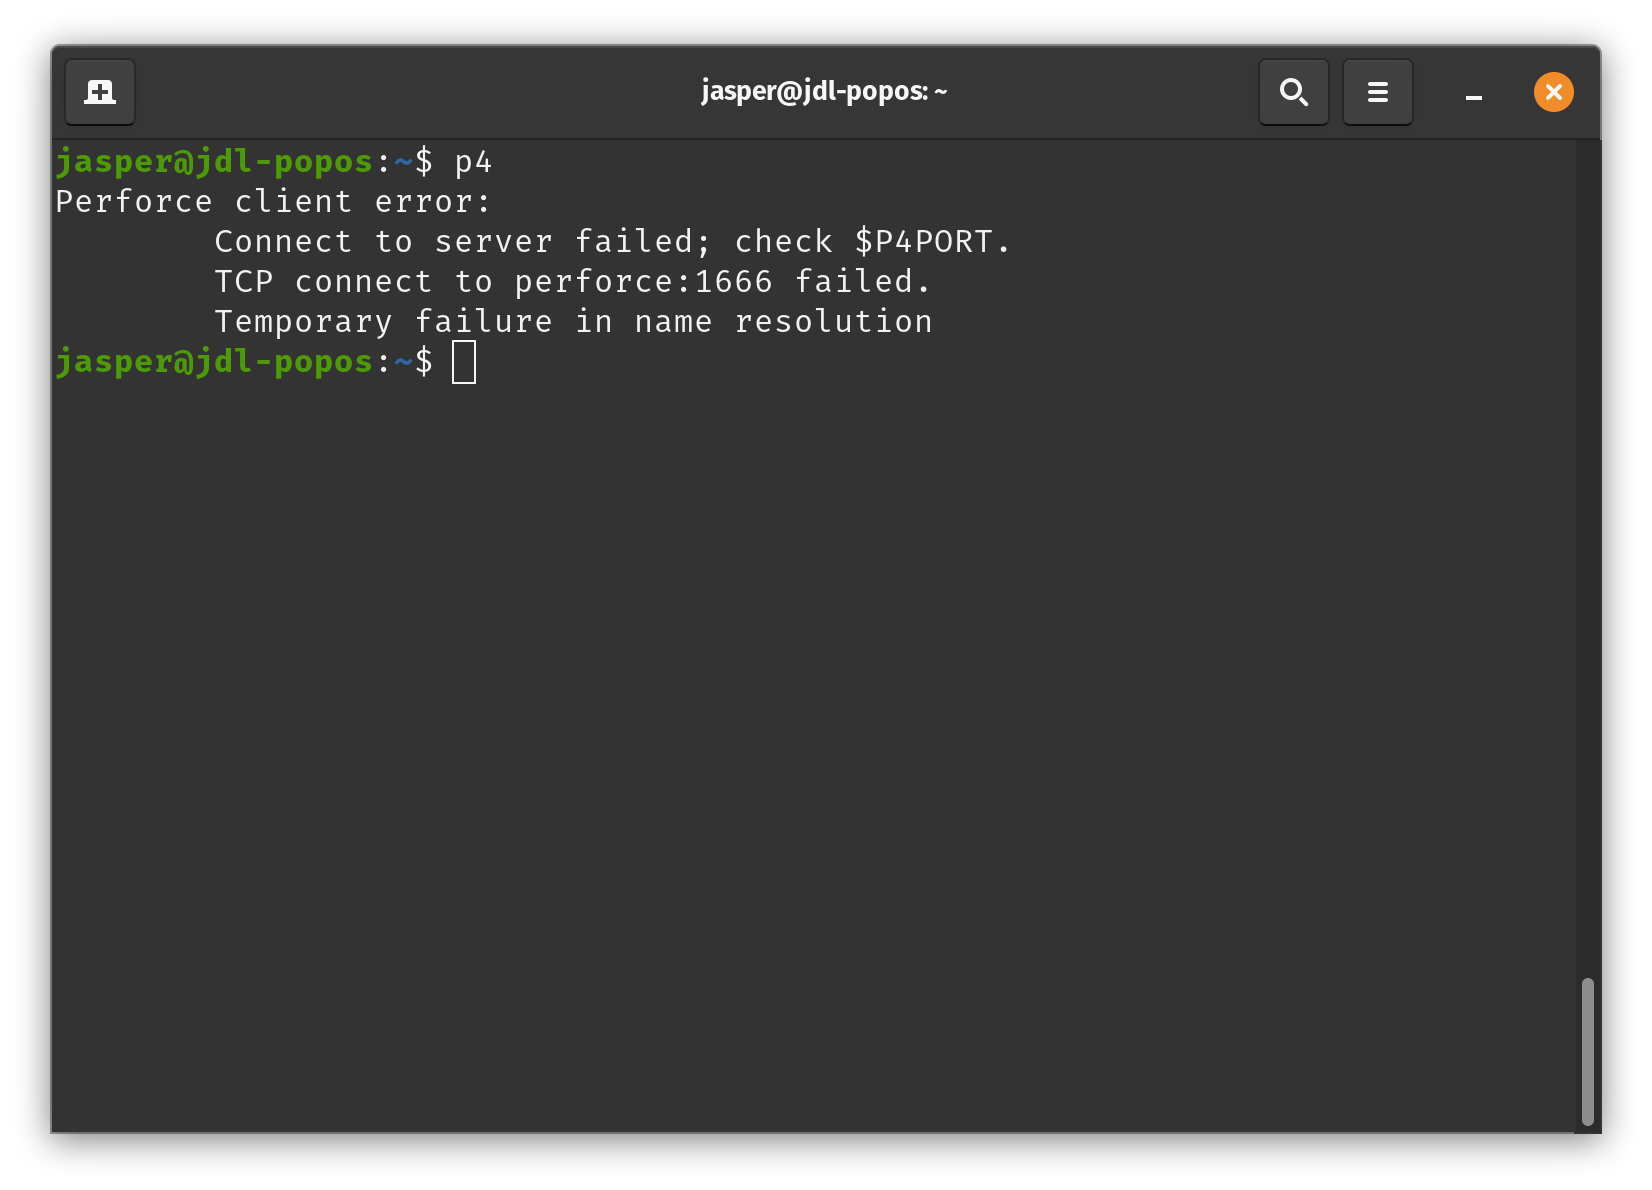 (obviously you’ll have to configure it, just like on Windows)
The installation of the other Helix Core tools (P4V, P4Admin etc.) is fairly similar to Windows:
I personally ran into a problem starting p4v after installation, the Qt framework couldn’t load a specific plugin which lead to the application exiting with an error.
If you find yourself in a similar situation, you can try the following to get a more verbose error message:
export QT_DEBUG_PLUGINS=1
p4v
In my case, the libxcb library was missing the xinerama dependency, which was easily fixed:
sudo apt install libxcb-xinerama0You should now have all the Helix Core tools installed on your computer!
Server setup
Installing the server is relatively straightforward after setting up the package repository:
sudo apt install helix-p4dThe next step is configuring your server after installation. The documentation for this is actually pretty up-to-date, so I suggest you pick it up from there!
Leave a comment